Table of Contents
Jumping rope builds conditioning fast. It asks your calves, feet and lungs to work at the same time. You can do it in a space the size of a doormat. Most people start too hard, too long, and on a rope that is the wrong length. Then they quit with sore shins in week two. This plan fixes the setup first. It then adds volume slowly enough that your tendons keep up with your enthusiasm.
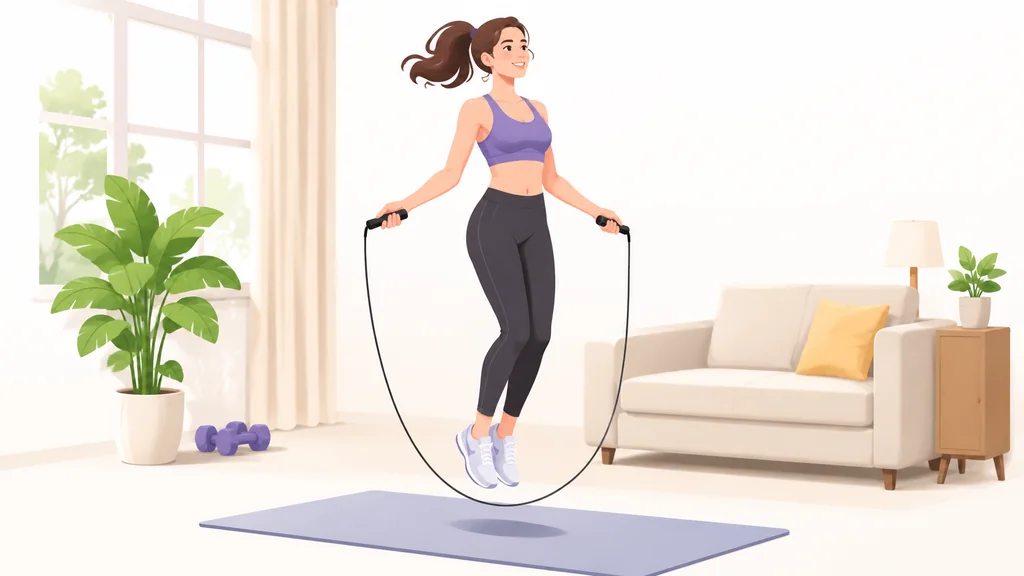
I have watched a lot of people buy a rope, go three rounds of two minutes, and then limp for four days. The rope is unforgiving that way. It rewards patience and punishes ego more than almost any piece of cardio gear I know.
Why Jumping Rope Works So Well for Conditioning
The rope is a rhythm tool. Every skip is a small hop with a landing. The landing does the conditioning work. Your calf complex, your Achilles tendon and the small muscles around your ankles absorb that load hundreds of times in a few minutes. A few minutes of skipping packs a lot of tissue work into a short session.
Compare it to steady work on a machine. If you want a low-impact option that lets you sit down and grind for thirty minutes, a stepper or a treadmill is easier on the joints. I cover those choices in StairMaster vs Stepper for Home Cardio That Lasts. The rope is the opposite tool. It is short, sharp and high in skill demand.
Rope skipping has a long history behind it. A movement that lasts that long is durable. European explorers recorded Indigenous Australians jumping with vines in the 16th century, and skipping became popular among girls beginning in the 18th century before flourishing in urban settings by the 19th century. A movement that survives that long is usually a good one.
The sport side has grown too. The Guinness World Record for revolutions in a single jump belongs to Kirato Hitaka. He managed 8 revolutions in one jump. You are not chasing that. But it shows the ceiling of the skill. It also shows that the rope rewards coordination as much as fitness.
Sizing the Rope and Picking the Right One
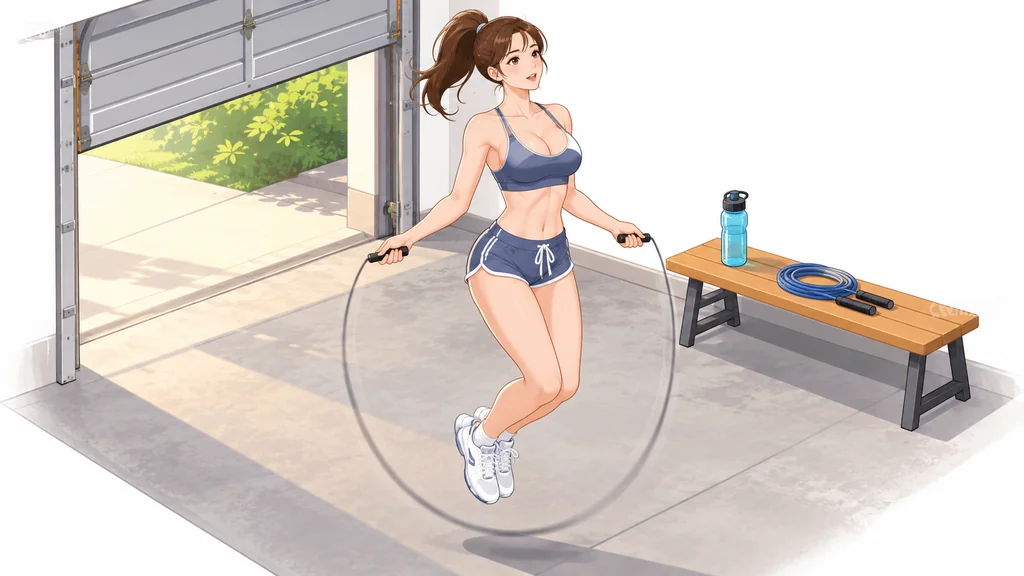
Rope length matters more than most beginners think. A rope that is too long forces you to swing your arms wide. It throws off your timing and makes you jump higher than needed. A rope that is too short catches your feet and turns a good session into a frustration drill.
The old test still works. Stand on the middle of the rope with one foot, pull both handles up toward your chest, and look at where they land. For most people the handles should sit somewhere around the lower chest to armpit range. Check the spec sheet on the rope you buy. Handle length changes the math.
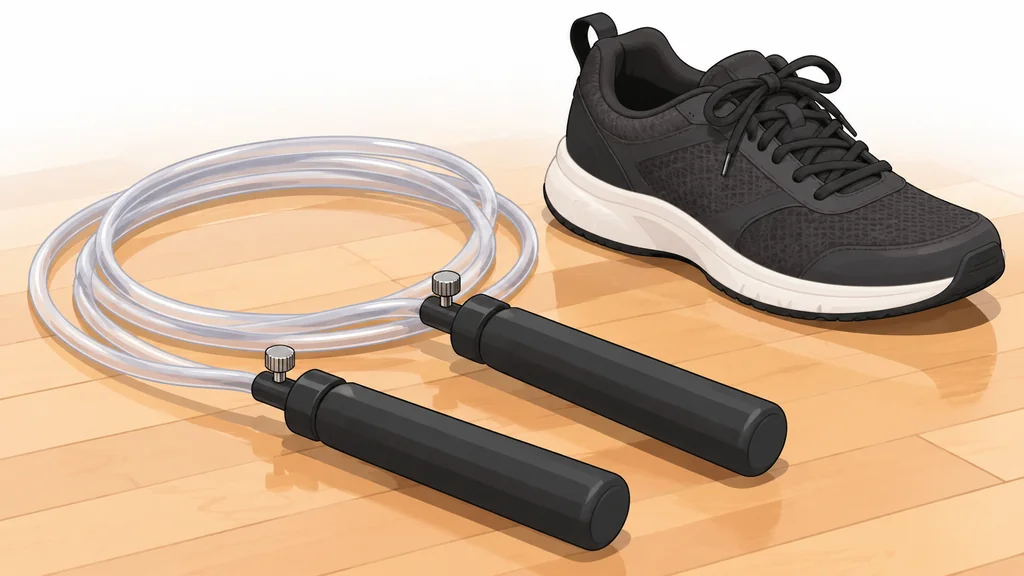
Material choice affects feel. Each option suits a different use. Match the cord to where you skip.
- PVC or vinyl cords are cheap, hold a consistent arc and suit indoor use on smooth floors.
- Beaded ropes carry momentum well and are popular for speed work, but they hurt more when they catch a shin.
- Steel or coated wire ropes are for experienced skippers chasing double-unders, and they punish sloppy form.
- Leather or heavier cords last well outdoors on rough surfaces.
Handles matter for grip. Look for a bearing or bushing in the handle. A free-spinning rope saves your wrists. Check whether the grip suits your hand size. A Phillips or Torx screwdriver is handy if your handles use small screws for length adjustment. Many adjustable ropes use them.
Shoes are part of the setup. A flat, firm shoe with decent cushioning under the forefoot works better than a soft running shoe that absorbs your landing and makes you work harder. Skip barefoot only if your calves are already used to it.
The Basic Technique, in Two Commands
Most of the technique comes down to staying tall and turning the rope with your wrists.
Stay tall. Keep your chest up, your eyes forward and your knees soft but not bent into a squat. Turn with your wrists. Keep your elbows close to your ribs and your hands near your hips. If your arms are doing big circles, you are working twice as hard for the same result.
The jump itself is small. You want just enough height to clear the rope, maybe an inch or two off the floor. Land on the balls of your feet and let your heels touch down lightly between skips if you can. A heavy heel slam every rep turns a good session into a shin problem.
The boxer skip is the most useful variation for conditioning. Instead of landing on both feet together, you shift your weight side to side, tapping one foot and then the other. It is easier on the calves than a strict two-foot bounce. It keeps a rhythm, and it lets you stay relaxed for longer sets. Learn it early.
Breathe through your nose and mouth as needed, and keep your jaw loose. If you are holding your breath, the set is too hard or you are jumping too high.
A Four-Week Progression That Respects Your Tendons
This is the part people skip. It decides whether you are still jumping in a month. Add time slowly and take rest days.
I use a structure built from short sets with rest between them. A single session is not one long grind.
- Week one, learn the rhythm. Do six sets of thirty seconds of skipping with thirty seconds of rest. Keep the jump small and focus on the wrist turn. Three sessions this week is plenty.
- Week two, add a little time. Move to six sets of forty-five seconds with thirty seconds of rest. Keep the same three sessions.
- Week three, extend the sets. Go to five sets of one minute with forty-five seconds of rest. If your calves are sore, repeat week two instead of pushing on.
- Week four, build the engine. Do four sets of ninety seconds with one minute of rest, and finish with a few easy sets of the boxer skip to cool down.
- Then hold and vary. Once week four feels controlled, keep two sessions at that volume and make one session a skill day with double-under practice and footwork drills.
If you want a longer conditioning block, pair rope work with a machine session on alternate days. Rowing is a good partner. It is low impact and trains your back and legs without hammering your feet. The basics are covered in Rowing Machine Types and Technique Basics. Treadmill work can fill the other days if you prefer running, and What to Know Before You Buy NordicTrack Treadmills walks through what to look for.
Most people feel competent in two to three weeks and genuinely conditioned in six to eight. Anyone promising a dramatic transformation in a week is selling something.
Common Mistakes and What They Cost You
Most rope problems come from a short list of fixable habits. Fix these and the sessions get easier.
- Jumping too high. Extra height buys nothing and loads your calves. Keep the hop small.
- Swinging from the shoulders. Big arm circles tire you out and slow the rope. Use your wrists.
- Skipping the warm-up. Two minutes of easy marching, ankle circles and calf raises before you start saves you a week of soreness.
- Going barefoot too soon. Barefoot skipping is fine once your feet are adapted. Start shod.
- Doing it every day. Tendons adapt slower than lungs. Three or four sessions a week is enough at the start.
- Ignoring the surface. Concrete is harsh. A rubber mat, a wooden floor or a sports court is kinder.
A short, clean session you repeat is more sustainable than a heroic session you regret.
When to Back Off and When to See a Pro
Sore calves in the first two weeks are normal. Sharp pain in the shin bone, pain that worsens as you walk, or swelling that does not settle overnight are not normal. Stop and let it calm down.
A few signals are warning signs. Get advice from a physiotherapist or your doctor before you keep jumping.
- Pain that persists at rest or wakes you at night.
- A sudden pop or tear sensation in the calf or Achilles.
- Numbness or tingling in the foot.
- Pain that has not improved after a week of rest.
If you have had an Achilles injury, plantar fasciitis or a stress fracture in the foot or shin, get cleared before you start rope work. The rope is a high-repetition impact activity. It will find any weak link you have.
The sport has organised structures if you want to compete. In 2018, IJRU received GAISF Observer status, a step toward international sport recognition. The International Rope Skipping Organization re-emerged in 2019, headed by Richard Cendali. There are real coaching pathways if the rope becomes more than a conditioning tool for you.
Jumping Rope FAQ
How long should a beginner jump rope session last?
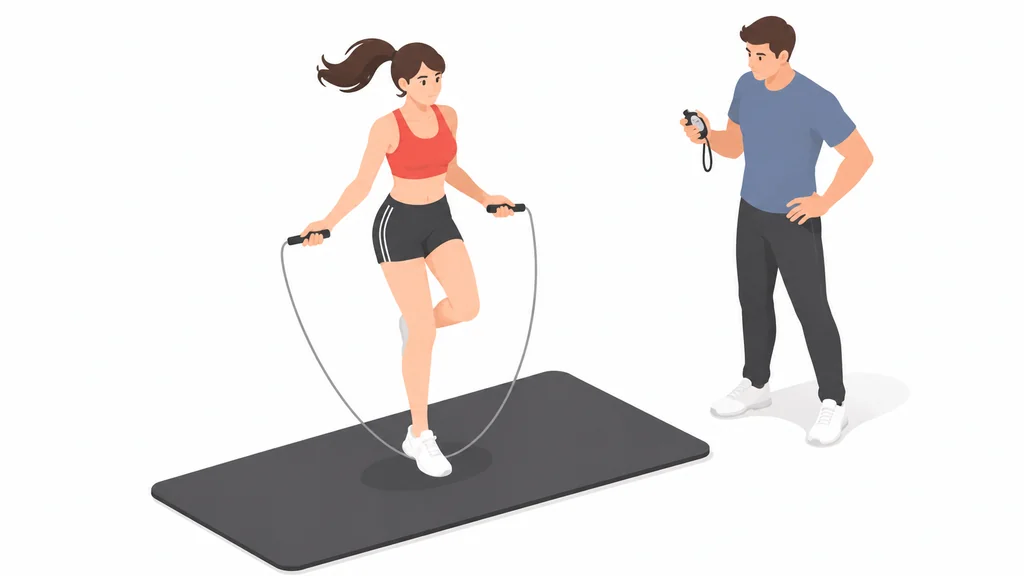
Ten to fifteen minutes of total work, split into short sets with rest, is enough for the first few weeks. A typical starting point is six sets of thirty seconds. That is easier to manage than one long continuous block. Build from there as your calves adapt.
Is jumping rope better for conditioning than running?
It is more time-efficient for the same effort. It demands coordination and a higher cadence. The impact per minute is higher too. Runners with healthy feet often use it as a short add-on alongside easy mileage.
Will jumping rope make my calves bulky?
It builds endurance and stiffness in the calf complex more than size. Most people see firmer lower legs and better ankle resilience rather than a dramatic change in shape, especially at the volumes a conditioning plan calls for.
How many times a week should I jump rope?
Three or four sessions a week works well for most people alongside other training. Daily rope work is possible once your feet and calves are adapted, but start with rest days between sessions and add frequency before you add duration.
Can I jump rope on concrete?
You can, but a rubber mat, wooden floor or sports court is easier on your joints. Concrete offers no give, and the repeated landing load adds up over a training week. Save the concrete for occasional sessions and use a mat when you have the choice.
This content is for general information only and is not medical advice. Consult a physician before starting any exercise or nutrition program.