Table of Contents
Boxing gloves are sized in ounces. The ounce number describes how much padding sits over your knuckles; hand size is measured separately. For most adults, 12 oz to 16 oz covers bag work, pads and sparring, while hand size is a separate measurement you take across the palm. Padding breaks down with use, and a glove that lives in a damp gym bag will smell long before the foam dies.
Measure Your Hand Before You Buy Anything
Wrap a soft tape around the widest part of your open palm, just below the knuckles, thumb out of the way. That number, plus your body weight, gets you into the right glove. Body weight can be one factor in glove selection, but the same palm width does not by itself determine which glove weight is appropriate.
Do this on both hands. Most people are slightly asymmetric, and a glove that pinches on the larger hand will rub a blister by the third round.
Two things to check in the shop or on the spec sheet:
- Fingers should reach near the end of the glove without curling hard against the padding.
- The wrist strap should close with room left, not on the last hole.
If you are between sizes, go up. A loose glove you can tighten beats a tight glove you cannot loosen.
What the Ounce Number Actually Means
Ounces mainly describe padding weight. A 16 oz glove has more foam between your knuckles and whatever you hit, which protects your hand and your partner. That’s most of the story.
The common breakdown:
- 8 oz to 10 oz: competition and fast pad work for smaller fighters.
- 12 oz: bag and mitt work for lighter adults, and a common all-rounder.
- 14 oz: a middle ground for bag work and light sparring.
- 16 oz: the standard sparring weight for most adults and a common all-round option.
- 18 oz and up: heavy sparring for big athletes, or extra hand protection after an injury.
Some beginners may prefer lighter gloves for speed, but glove choice should suit the training use and gym requirements. A 16 oz pair gives beginners substantial padding for training. Speed comes with practice.
If you are building a home setup and pairing gloves with other gear, the same logic about load and fit applies to weighted vests — start where you can control the movement, then add.
Padding Types and What They Feel Like
Three materials cover almost every glove on the shelf.
Foam. Most gloves use layered foam, sometimes molded, sometimes stacked sheets. It is light, cheap and firm at first. Cheap foam compresses into a thin pancake over a season of hard bag work.
Horsehair and foam blends. Traditional boxing gloves used horsehair, and some still do. The blend feels dense and broken-in from day one, but it settles and shifts. Old-school trainers like it for the feedback it gives on the bag.
Gel inserts. Some gloves layer a gel pad over the foam at the knuckle. It spreads impact across a wider area and holds up reasonably well, though gel can stiffen in cold weather.
Whatever the material, the padding over the knuckles is the part that matters. Squeeze it between your fingers. If it feels like a folded towel, it will not protect you for long.
Breaking In a New Pair
New gloves are stiff, and the wrist and thumb crease is where they fight you. Work them in slowly.
- Put the gloves on and work the fist open and closed to loosen the knuckle crease.
- Wear them for a few light bag rounds, no power shots.
- Flex the wrist strap back and forth to soften the leather or synthetic shell.
- Wipe them down after every session.
- Keep them out of direct sun and away from a car trunk in summer.
- Give them two to three weeks of regular use before judging the fit.
Do not soak them, do not stuff them with wet newspaper, and do not leave them in a hot car to “soften up.” Heat breaks foam down faster than punching does.
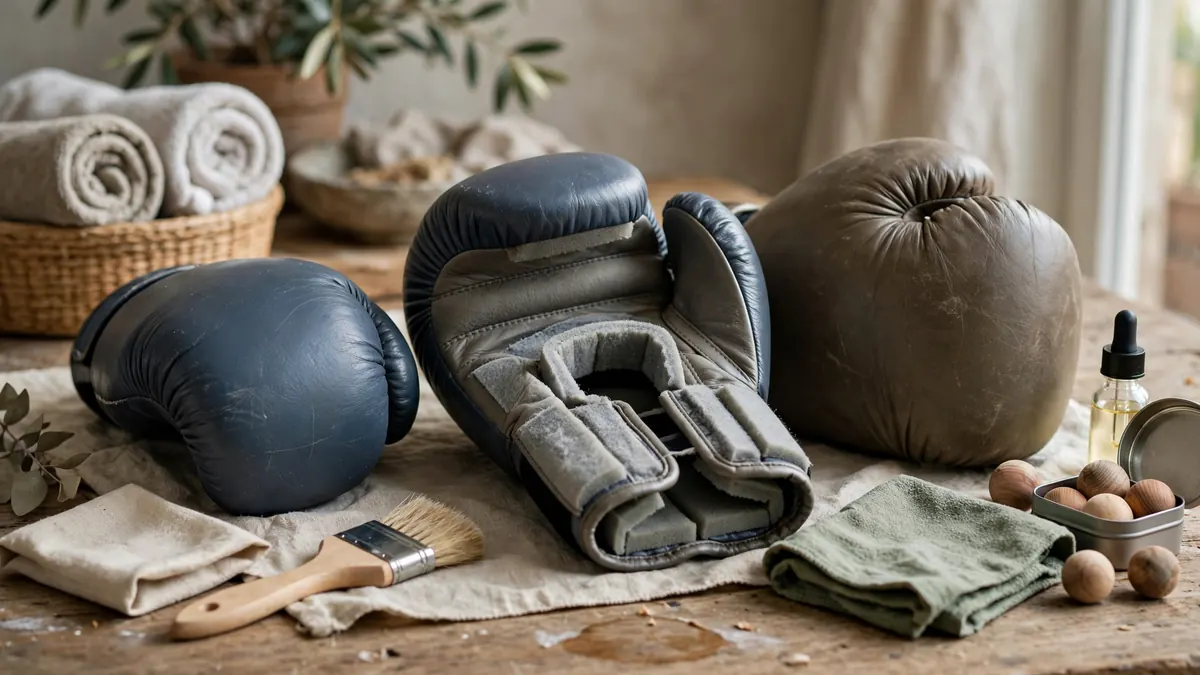
Care: Air, Wipe, Dry, Repeat
The inside of a glove is a warm, dark, damp place, which is exactly what bacteria want. The fix is boring and it works.
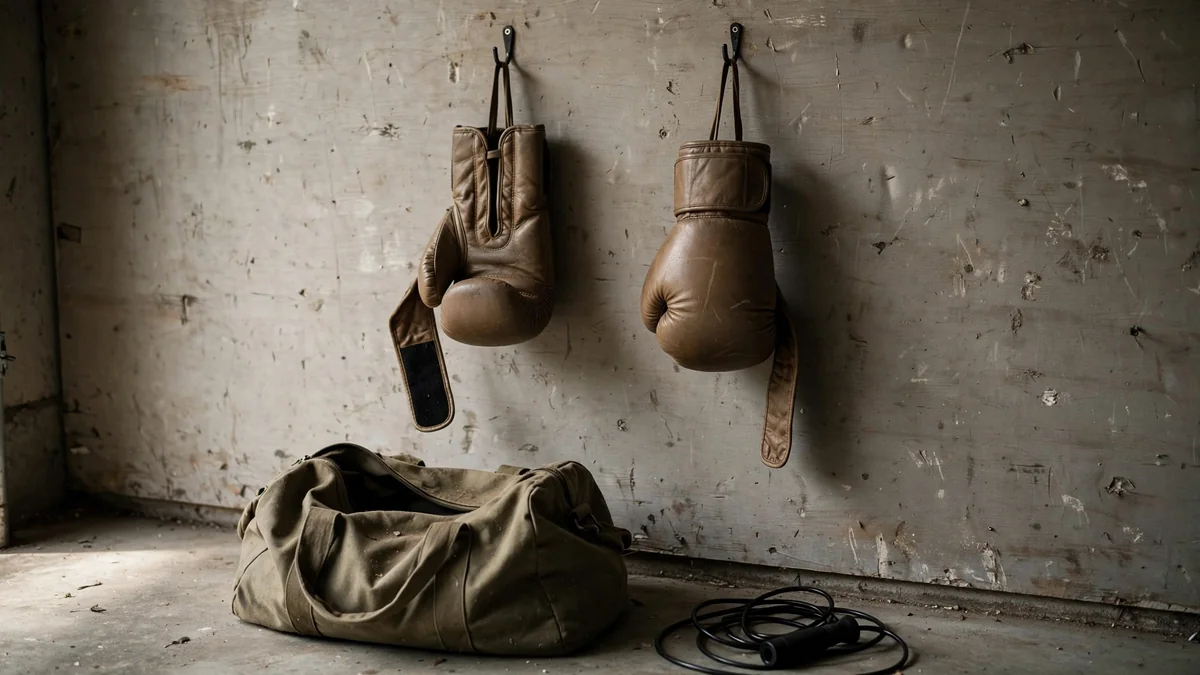
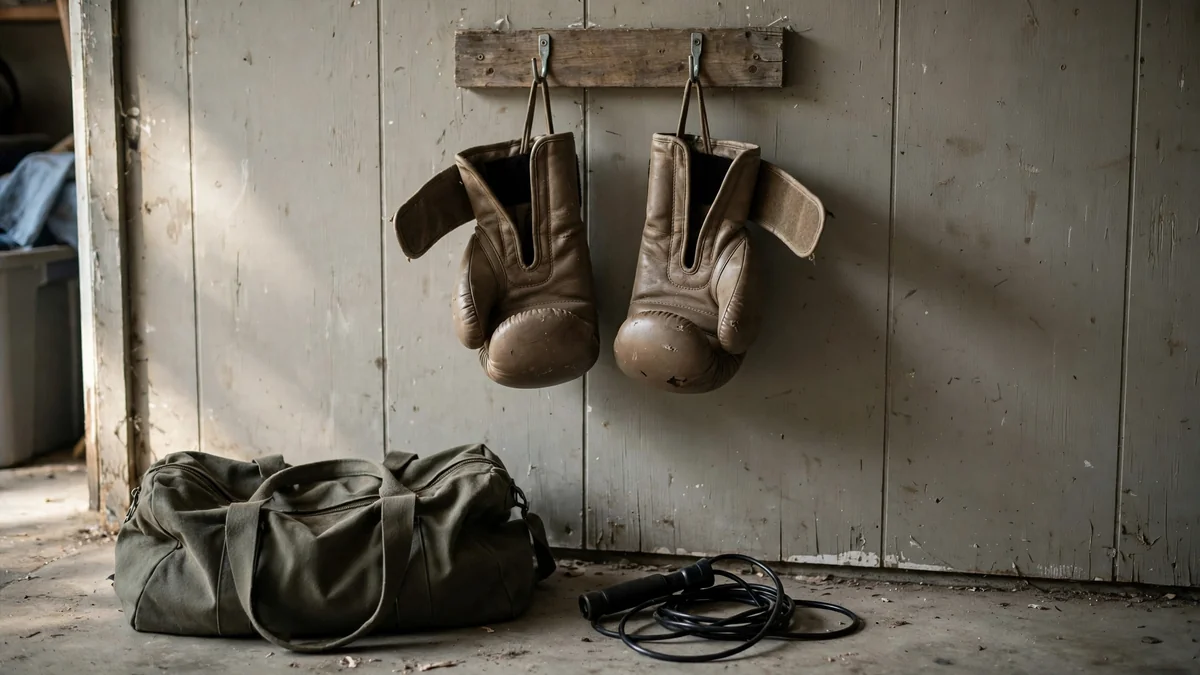
Air them out after every session. Pull them off, loosen the straps, and set them somewhere with moving air. Not inside the gym bag. Not in a locker. On a shelf or a hook where the opening can breathe.
Wipe the outside with a damp cloth and a little mild soap, then dry with a towel. For the inside, use a glove deodorizer or a dry cloth wrapped around your hand to soak up sweat. Some people keep cedar inserts in them between sessions.
Leather needs occasional conditioning to stay supple, and a light coat of a leather balm every few months does the job. Synthetic shells need almost nothing beyond the wipe.
Hand wraps matter here too. Wraps absorb most of the sweat and keep it out of the liner, and they protect your knuckles and wrists under the padding. Wash them after every session.
Store gloves hanging or on a shelf, straps open. If they already smell, air them outside in shade for a day before you try anything else.
When Gloves Are Done
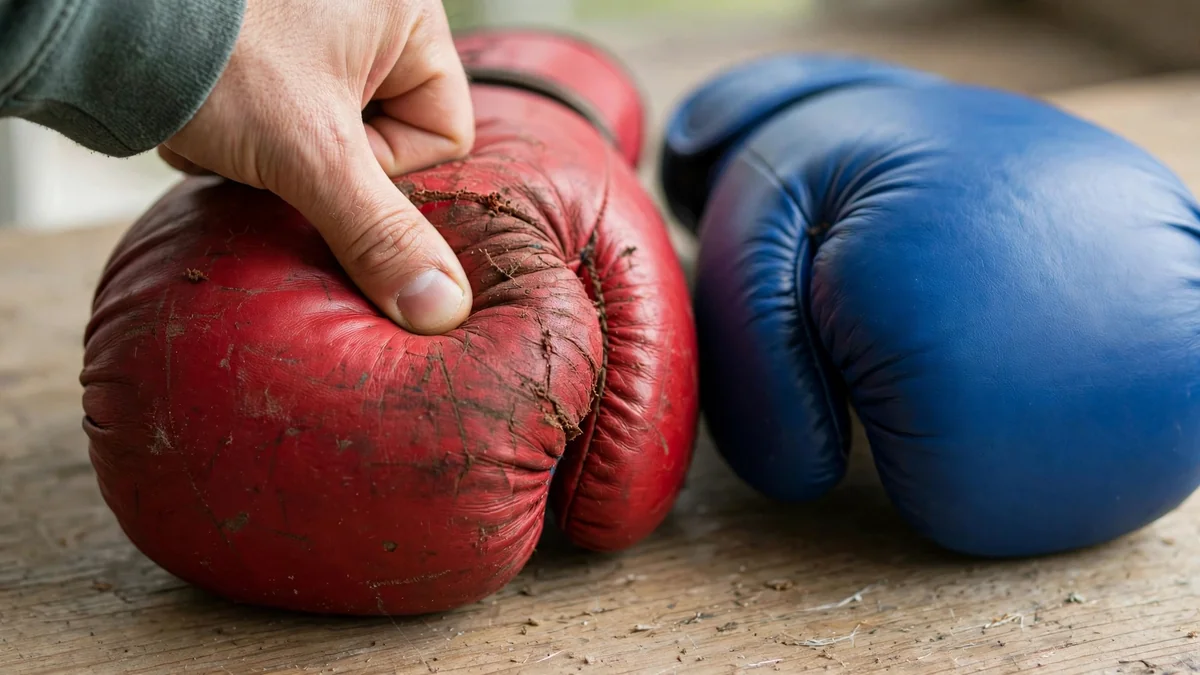
Padding fails before the shell does. Press the knuckle area with your thumb. If you can feel the hard backing through the foam, the glove is finished for bag work, whatever the outside looks like.
Other retirement signs:
- Cracks in the leather that open when you make a fist.
- A wrist strap that no longer holds tension.
- Liner coming apart at the seams.
- A persistent smell that returns within a day of cleaning.
A retired pair can still serve as a spare for light pad work, but do not spar in them.
Matching Gloves to the Rest of Your Kit
Gloves are one piece of a home setup, and the rest of it should match how you actually train. If you are filling a garage gym, the choice between a power rack and a Smith machine shapes what you can do between boxing sessions, and beginners building a first kit often pair gloves with hand weights and medicine balls for conditioning rounds.
Sizing Chart Reality Check
No chart replaces trying them on. Sizing tables assume an average hand for a given body weight, and plenty of people sit outside average. A tall, lean athlete with big hands may need 16 oz where the chart says 14 oz. A compact, heavy lifter may need the same 16 oz for a completely different reason.
Use the chart to narrow the field, then use the fit checks. Fingers near the end, strap with room to spare, no pressure point on the thumb.
A 16 oz pair, hand wraps and a ventilated place to hang the gloves provide a starting kit for bag work, pads and sparring. Competition or faster pad rounds may call for a lighter pair.
What to Buy First
One pair of 16 oz gloves, a set of hand wraps, and a place to hang them where air moves. That covers bag work, pads and most sparring while you learn. Add a lighter pair later if you compete or want faster pad rounds.
Choose a size that fits your hand. Replace gloves when the foam wears out; scuffed leather alone does not mean they are finished. Air them out after every session, because gloves that dry between sessions outlast pairs left in a bag.
FAQ
How do I know what size boxing gloves to buy?
Start with your body weight and palm measurement, then go up one size if you are between options. Many adults use 16 oz gloves for sparring, but the appropriate weight varies by gym rules and training needs. If you only hit pads and never spar, 12 oz or 14 oz is workable.
Are 16 oz gloves too big for bag work?
No. They are heavier to hold up, so your shoulders will fatigue faster at first, but the extra padding protects your hands and the weight builds shoulder endurance. Gym glove requirements vary; check your gym’s rules for each activity.
How often should I replace boxing gloves?
It depends on how hard and how often you train. Check the knuckle padding every few months by pressing it with your thumb. Once you can feel the hard backing, replace them for bag and sparring work.
Can I wash boxing gloves in a machine?
No. Machine washing breaks down foam and distorts the shape. Wipe the outside by hand, air the inside, and use a deodorizer or cedar insert between sessions.
Do I need hand wraps with boxing gloves?
Yes, for anything beyond light pad work. Wraps absorb sweat, stabilize the wrist and add a layer over the knuckles. They also keep the glove liner drier, which slows the smell.
FAQ
This content is for general information only and is not medical advice. Consult a physician before starting any exercise or nutrition program.