Table of Contents
A weighted vest is a tool for adding load to work your body already does. That includes walking, push-ups, squats, and step-ups. Start at roughly five to ten percent of your body weight, wear it snug against your torso without restricting breathing, and add load in small steps once your current weight feels routine. The vest itself matters less than how you progress with it.
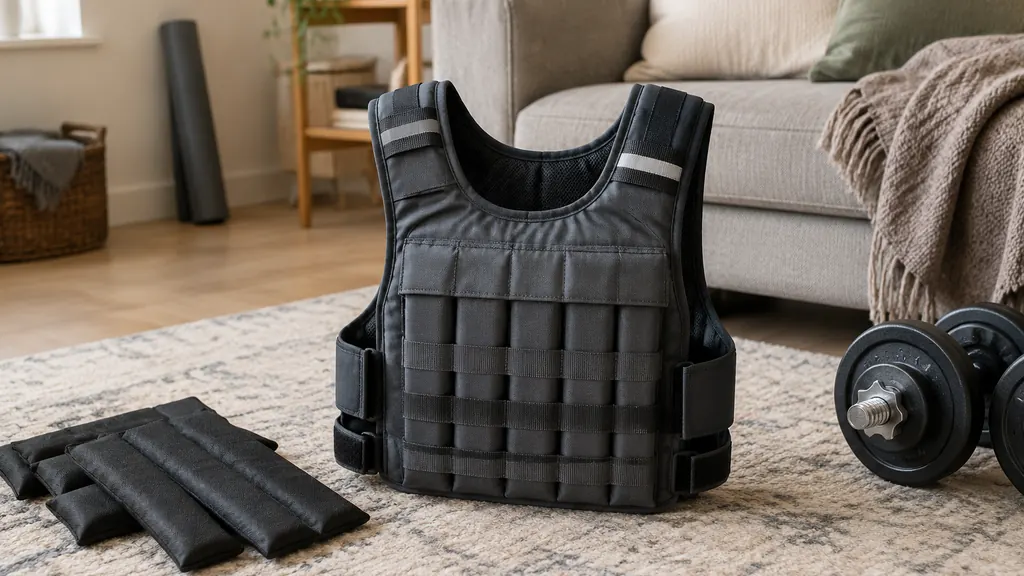
Most people get this wrong in one of two ways. They buy the heaviest vest they can find and wear it once, or they buy a vest that shifts and rattles so badly they never put it on again. Both problems are fixable before you spend money.
What a Weighted Vest Actually Does
A vest adds external load close to your center of mass. That’s different from holding a dumbbell or a kettlebell, where the weight sits away from your body and changes your leverage. With a vest, your movement pattern stays roughly the same, but every step, squat, or push-up costs more.
A vest can build work capacity in walking and hiking, add difficulty to bodyweight movements without changing the movement, and load carries and step-ups when you don’t have a barbell handy.
It does not replace progressive barbell work. If you’re comparing a vest to a rack setup, read this power rack versus Smith machine comparison to understand the trade-offs.
Match the Load to Your Body Weight
The single most useful number is your own body weight. A vest that’s heavy for a 60 kg lifter is a warm-up for someone at 95 kg.
A workable starting range depends on experience. Beginners can start at five to ten percent of body weight, regular trainees can hold ten percent for weeks before adding, and experienced trainees can build slowly to fifteen percent and up.
If you weigh 80 kg, that’s roughly 4 to 8 kg to start. Not 20 kg. The vest you can wear for a 40-minute walk without your shoulders burning out is the right vest for week one.
Fixed Weight or Adjustable?
Two designs dominate, and the choice comes down to how you plan to progress.
Fixed-weight vests are one solid load. They’re cheaper, they don’t shift, and they’re usually more comfortable because there’s nothing to rattle. The downside becomes clear when the weight gets easy. You need a new vest.
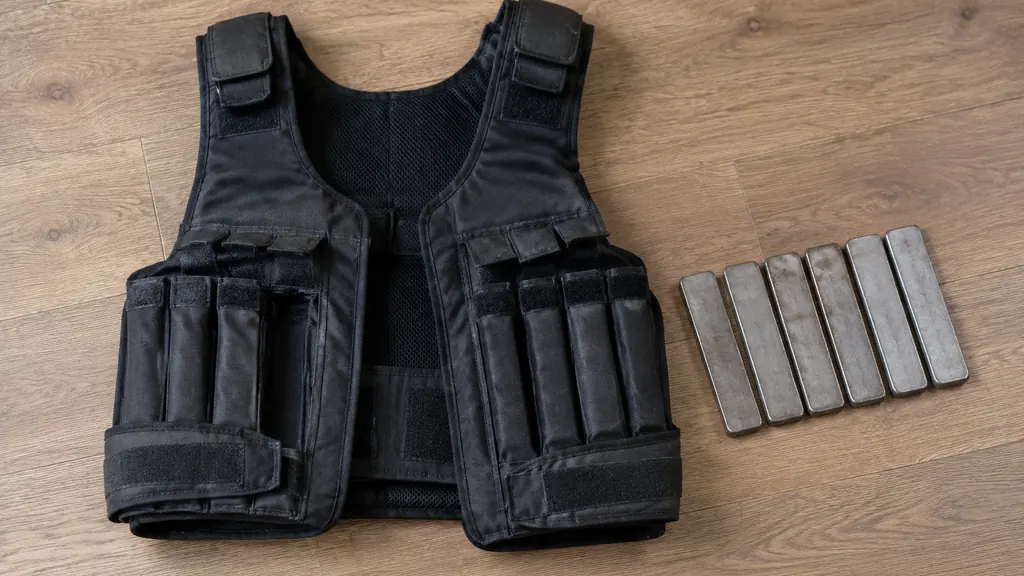
Adjustable vests use removable weights for weighted vest work, usually small steel or cast plates slipped into pockets. You buy one vest and add plates over months. The trade-off is bulk and the risk of movement inside the pockets if the fit is loose.
For most home trainees, an adjustable vest wins because it lets you progress in small increments. If you only ever plan to walk the dog with a few kilos, a fixed vest is simpler and cheaper.
Check the Fit Before Anything Else
Fit is where cheap vests fail. A vest that bounces, slides, or digs into your collarbone will sit in the closet by week three.
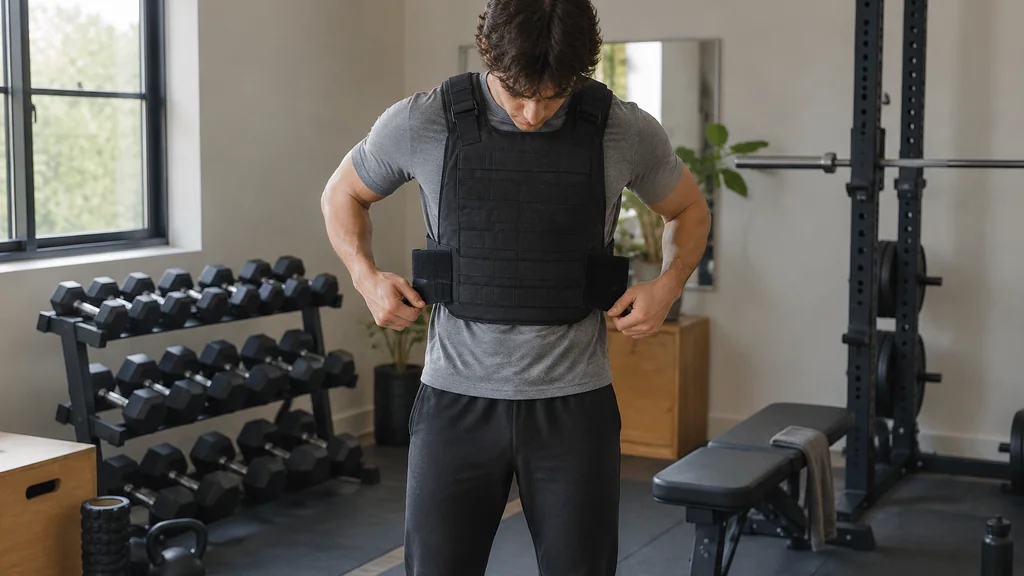
Check for six fit details. Shoulder straps should be wide enough to spread the load, since narrow straps cut into the trapezius under real weight. A sternum or chest strap stops the vest from swinging when you walk or run. Side adjustment should stay put; twist your torso to check that the vest does not rotate freely. The vest should feel snug, with room to take a full breath and slide two fingers under the strap. Plates should sit against muscle without hard edges pressing on your collarbone or ribs. Finally, choose a length that clears your hips so the vest does not ride up onto your stomach.
Try the vest on over the shirt you’ll actually train in. A vest that fits over a hoodie may swim over a t-shirt.
How to Progress the Load
Add weight the way you’d add weight to any lift. Progress slowly, and only when the current load feels routine.
- Wear the same weight for at least two to three weeks before adding more.
- Add the smallest increment your vest allows, often one or two small plates.
- Drop back if your walking posture changes, your lower back tightens, or your knees feel beat up.
- Take the vest off for at least one session a week so your joints get a break.
The mistake is treating the vest like a challenge instead of a tool. Add five pounds a week and in two months you’re at a number you’d have called impossible. Add twenty-five today and you’ll be nursing your lower back on Thursday.
Where a Vest Fits in Your Week
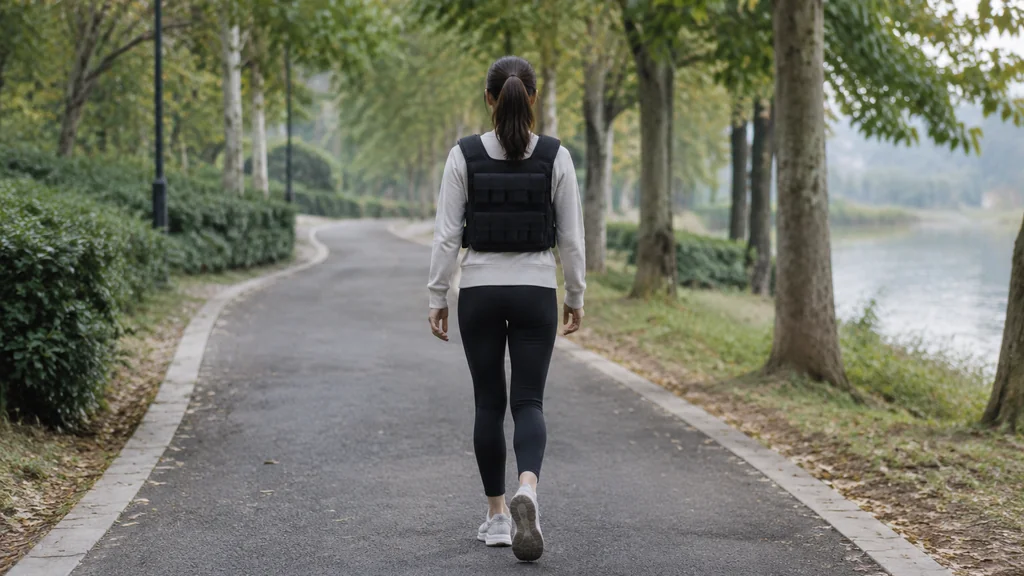
A vest works well as a supplement to other training. You can use it for aerobic load on walks and incline treadmill sessions, for push-ups, pull-ups, dips, and step-ups when bodyweight has gotten easy, for farmer’s walks and suitcase carries, or for squats and lunges at low volume if your knees tolerate it.
Keep vest work to two or three sessions a week at first. If you’re also lifting heavy, the vest adds fatigue you have to account for. Beginners building a first home setup can compare hand weight sets and medicine balls before adding a vest, since those tools cover more ground early on.
A vest is workout gear, and workout gear gets sweaty. If you’re rotating between vest sessions and regular training, workout attire management can keep the vest from sitting damp in a bag for days.
Common Mistakes With Weighted Vests
- Starting too heavy. The most common error by a wide margin.
- Ignoring the fit. A loose vest changes your gait and stresses your shoulders.
- Wearing it every session. Load accumulates; recovery doesn’t happen on its own.
- Using it for runs before you’ve walked in it. Impact plus load is a lot for knees and ankles.
- Skipping the warm-up. Cold joints under extra load don’t forgive much.
- Expecting fat loss from the vest alone. Load adds work; it doesn’t outrun a bad diet.
When to Skip the Vest
If you have a history of lower back, shoulder, or knee issues, get cleared before you load your torso. The same goes if you’re returning from an injury or you’re new to training entirely. A vest is not a beginner’s first purchase, and it’s not a fix for a program that isn’t working.
If walking with a vest causes sharp pain, stop and get it looked at. Dull soreness the next day is normal, but sharp pain during the session is not.
Weighted Vest FAQ
How heavy should a weighted vest be for a beginner?
Start at five to ten percent of your body weight. For most people that’s a few kilos to start. Wear that weight for two to three weeks before adding anything.
Can I run in a weighted vest?
Only after you’ve walked in it comfortably for several weeks. Running multiplies impact forces, and adding load on top of that is hard on knees, hips, and ankles. Walk first, then jog short intervals.
How do I know if my vest fits properly?
It should sit snug against your torso, stay put when you twist, and let you breathe fully. If it bounces, slides, or digs into your collarbone, adjust the straps or size down.
How often should I train with a weighted vest?
Two or three sessions a week is plenty for most people, especially if you’re also lifting. Leave at least one day a week vest-free so your joints and posture recover.
Is an adjustable vest better than a fixed one?
For most home trainees, yes. Adjustable vests let you add load in small increments over months, which is how progress actually happens. A fixed vest is fine if you only ever want one weight.
This content is for general information only and is not medical advice. Consult a physician before starting any exercise or nutrition program.